
Planning and building the Rocket Stove BBQ grill prototype
The rocket stove in it’s purest form, is simply a high temperature combustion chamber and chimney through which a lot of air and a little fuel burn in an efficient manner. The stove itself is this combustion chamber. What you decide to do with the heat after it comes out of the chimney is extremely flexible and it depends upon how you direct and purpose the heat produced in the combustion chamber.
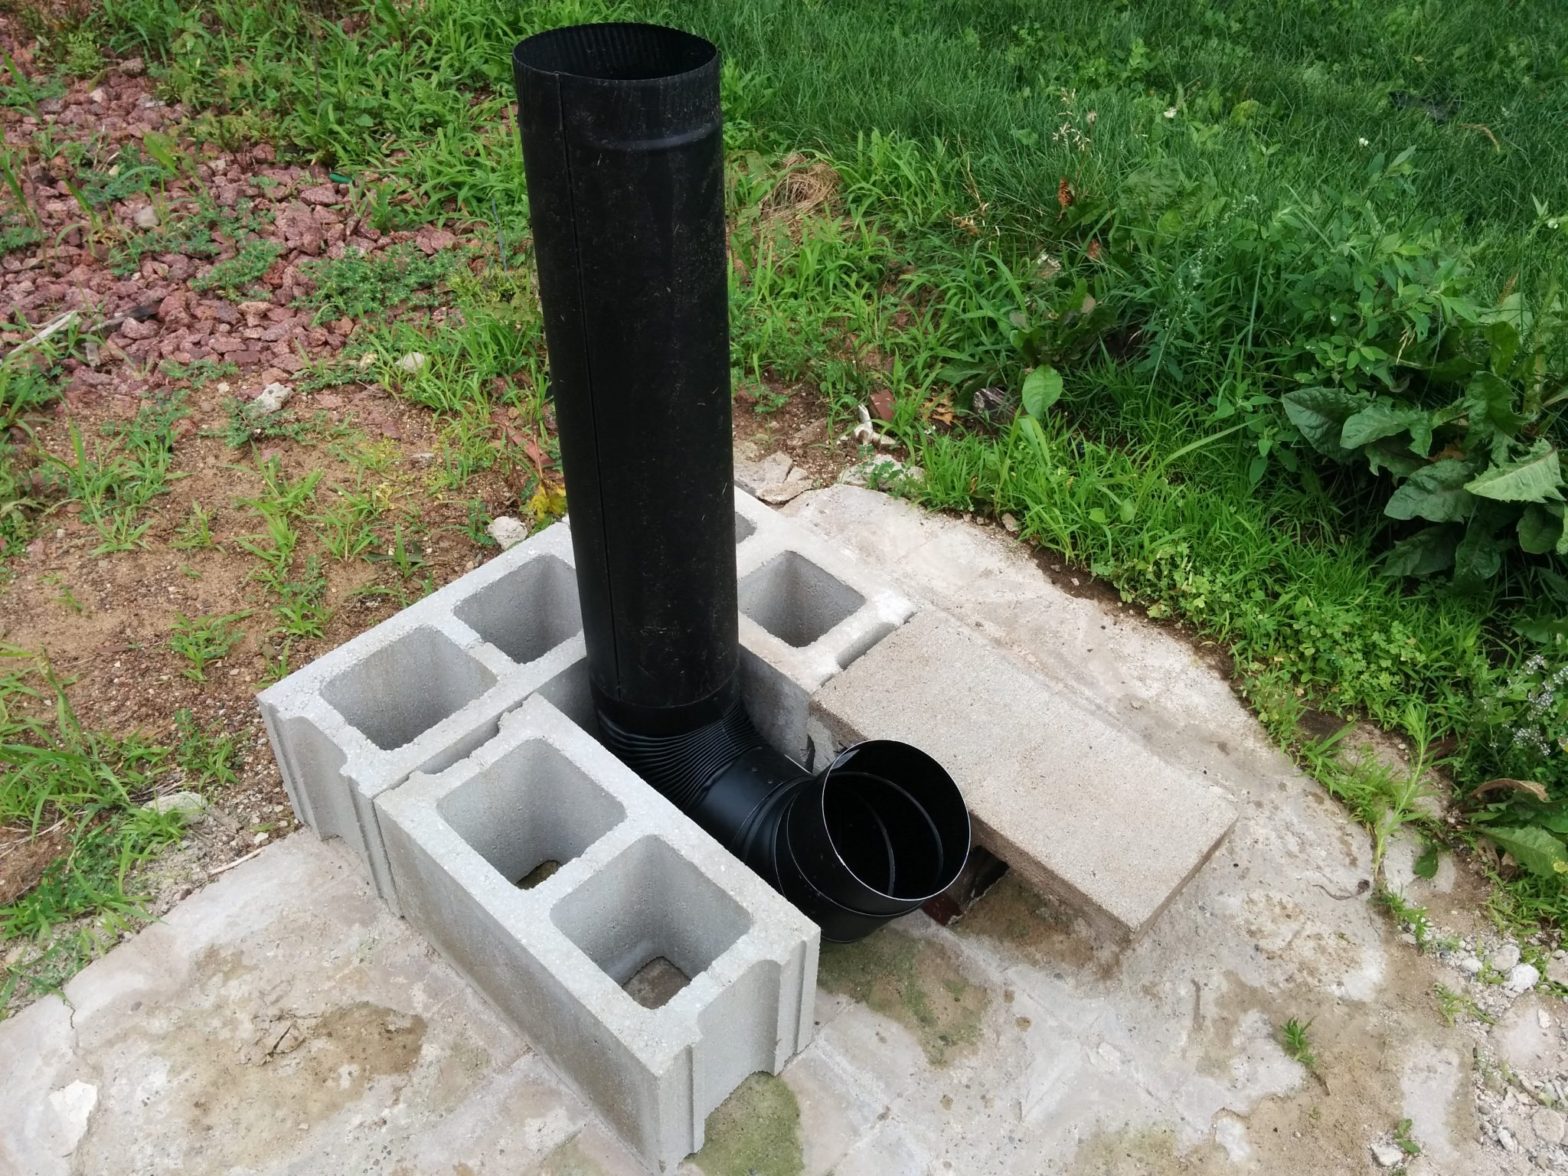
In the image below, you can see the rocket stove portion of my project. I have made mine using two 6″ diameter stove pipe elbows to create the combustion chamber, and then an additional section of stove pipe for the chimney.

Now, let me step back a bit and explain why I am doing this because frankly I spent quite a bit of time learning about rocket stoves. The easiest way is probably to view this video.
So through the spring and summer of 2015, I learned about and tested the concepts of the rocket stove. I wrote about the Four brick rocket stove, and I wrote about “The importance of the Chimney in the Rocket Stove. After those experiments I moved forward with the chimney, experimenting to come up with the combustion chamber and chimney shown in the first image above. As you saw from the video, my motivation is to build a new BBQ grill. But if you know me, you know the straight and simple path is never the one I take.
My first thought is that if I just slap a grill on top of the chimney, it is going to be so hot that I just scorch anything that I put on that grill. Take it from me, it gets really hot on top of that chimney. So, my next thought was that I wanted to honor the meat I was cooking, so I would divert the heat so that it wasn’t just scorched meat, but something you would enjoy eating.
The cool thing about this rocket stove stuff, is that after the heat comes out of the chimney, it has to go somewhere. It can go up, or it can go down, sideways or just about anywhere you direct it, but it has to go somewhere. The whole idea of the rocket stove is that there needs to be a lot of hot air moving through the system. That means that you can get creative, and that is what I did. In fact, every time I go out to use the grill, I end up coming up with a new configuration for my grill based upon what I am trying to do. But that is another post.
So in the next video I give you an idea of what I have done as I fire up the indirect heat layout of my rocket stove grill for the first time.
Now we have fire going in the stove. It will take a few minutes to warm up the combustion chamber and start really drawing the air in to get it to the point where it gets the roaring sound from which it gets the name rocket stove. While we are waiting, lets take a look at some of the design elements that I have built into this stove that gives it the ability to cook with indirect heat, but also a look forward into the many options that you can bring to this kind of project.
One of the things you will notice is that I talk about needing to insulate the chimney and combustion chamber. This is to help get the combustion chamber really hot without losing heat to the surrounding infrastructure. In the literature I have read, they often talk about using Perlite. I bought the only Perlite I could find, which was infused with Miracle Grow. I was a little leery about that, but this was a prototype so I bought one bag and gave it a try.

I poured the Perlite down along the chimney and it settled to the bottom and down around the combustion chamber. Then I fired it up and let it get hot. I don’t know if it was my imagination, or if there was a strange smoky smell coming from where the Perlite met the chamber. I didn’t want to take a chance of getting that into what I was cooking, so I made some home made insulation. I took the ashes from my fire pit, and I sifted them to remove any debris. Then I packed the granulated ashes in around the bottom and top of the combustion chamber and chimney to seal off the Perlite and finish the insulation process. In the picture below you can see me adding the granulated ashes around the air and fuel intake portion of the stove. This effectively ended the problem with the smell/smoke coming from around the chimney.


With the stove now put together and properly insulated, it is time to put it to a real test. In the next post, I will go into how I configured the system to serve as both a grill and cooked using a rotisserie simultaneously. The imagination and how you will move the bricks to put heat on meat and vegetables is the only limit to how you can use the heat from this stove.